Databricks local development environment with VSCode and Mini Conda

I recently started working with Databricks and wanted to set up a local development environment to make it easier to work with notebooks and version control. In this post, I'll take you through the steps to set up a local Databricks environment using VSCode and Mini Conda.
Prerequisites
Before we get started, you'll need to have the following tools:
- Databricks workspace: you can follow this guide to create get a trial workspace or use an existing one.
- Visual Studio Code installed on your machine.
Step 1: Create Cluster
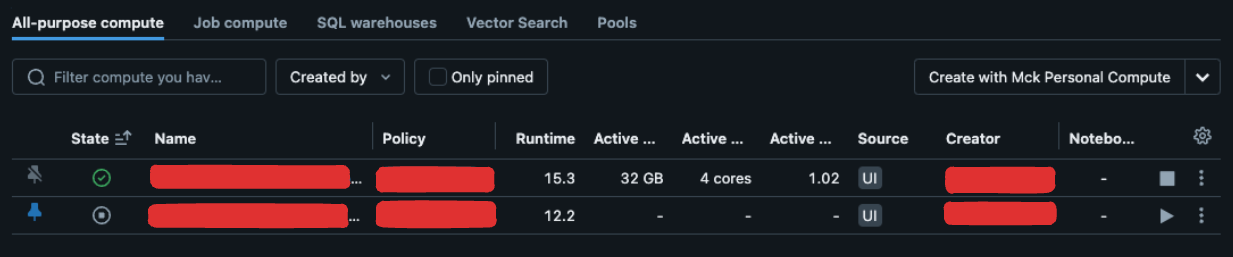
The first step is to create a cluster in your Databricks workspace. That will be used to run your notebooks both in the workspace and locally.
- Open your Databricks Portal and navigate to the
Computetab. - Click on
Create Computeto create a new cluster. - Select runtime version >= 15 and configuration for your cluster. You can use the default settings for now.
- Click on
Create Computeand wait for the cluster to be up.
After this step, you should have a new cluster running in your workspace.
Step 2: Create Databricks Local Profile
In this step, we'll connect your Databricks workspace to your local machine and storing the connection details in a local profile. This will allow Databricks Extension for VSCode to connect to your workspace.
-
Install Databricks CLi by running one of the following commands:
# For Linux/macOS
brew tap databricks/tap
brew install databricks

# For Windows
winget search databricks
winget install Databricks.DatabricksCLI
# Or
choco install databricks-cli
Find more options to install the Databricks CLI here.
After this step, you should be able to run
databricks -vcommand in your terminal.> databricks -v Databricks CLI v0.223.1 -
Login to your Databricks workspace using the following command:
databricks auth login --configure-cluster --host <workspace-url>Follows the prompts to log in and configure the cluster. After this step, you should be able to see the a profile in
~/.databrickscfgfile.
Step 3: Create Python Environment with Mini Conda
If you already have a python environment set up, you can jump to step 2.4.
Mini Conda is a lightweight version of Anaconda that allows you to create and manage python environments. It means you can have multiple python environments on your machine and switch between them easily.
-
Install Mini Conda: Anaconda offers graphical installers for Windows, macOS, and Linux but I would recommend using installation scripts.
You can find the OS specific installation scripts here. At the time of writing, the installation script for Linux is as follows:
mkdir -p ~/miniconda3
wget https://repo.anaconda.com/miniconda/Miniconda3-latest-Linux-x86_64.sh -O ~/miniconda3/miniconda.sh
bash ~/miniconda3/miniconda.sh -b -u -p ~/miniconda3
rm -rf ~/miniconda3/miniconda.sh
And don't forget to initialize mini conda for your shell, for example, for zsh or bash:
~/miniconda3/bin/conda init zsh
# or
~/miniconda3/bin/conda init bash
Now restart your shell and you should be able to use
condacommand. For example, I'm using zsh so I would run:> zsh # Or > bash # Check conda version > conda --version conda 24.4.0 -
Next we'll create a new conda environment named
dbrfor our Databricks project. Run the following command to create a new environment:> conda create -n dbr ... > conda activate dbr -
And install python in the new environment:
> conda install python=3
...
After this step, you should have a new python environment named
dbrwith python 3 installed.> python --version Python 3.12.4 -
Install
databricks-connectto work with Databricks from your local machine:pip install databricks-connect
After this step, you should have a new python environment with databricks-connect installed.
Step 4: Run notebooks locally
Now that we have our Databricks profile set up and a python environment ready, we can start working on our notebooks locally.
-
Create a folder or a git repository for your Databricks project.
# Create a new directory > mkdir dbr-project # Or clone an existing repository > git clone <repo-url> dbr-project > cd dbr-project -
Install the Databricks extension for VSCode from the marketplace. Visit this link and click on
Install.You should now see extension page in your VSCode, click on
Installto install the extension.Now you should be able to see the Databricks icon in the sidebar of your VSCode.
-
Click on the Databricks icon in the sidebar and select
Configure Databricks, then select the profile we created in step 1.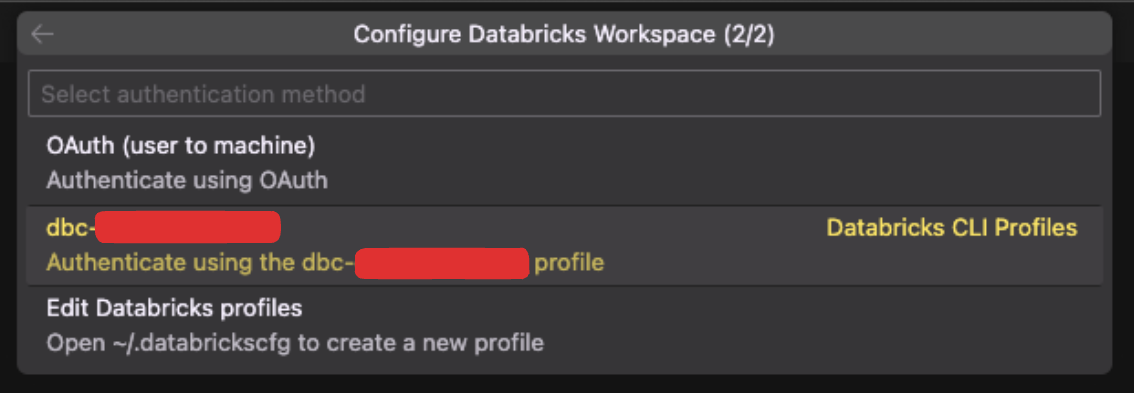
You can also enable sync, Databricks extension will push all the files in the local folder to the Databricks workspace.
PLEASE NOTE THAT THIS IS ONE-WAY SYNC, ANY CHANGES MADE IN THE DATABRICKS WORKSPACE WILL NOT BE REFLECTED IN THE LOCAL FOLDER.
-
Also on the Databricks extension, click on
Configure clusterand select the cluster we created in step 1. Don't forget to make sure the cluster is running.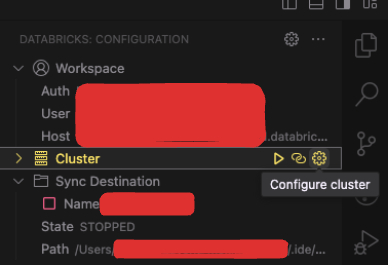
-
Install Jupyter extension for VSCode to run the notebook. Visit this link and click on
Install. -
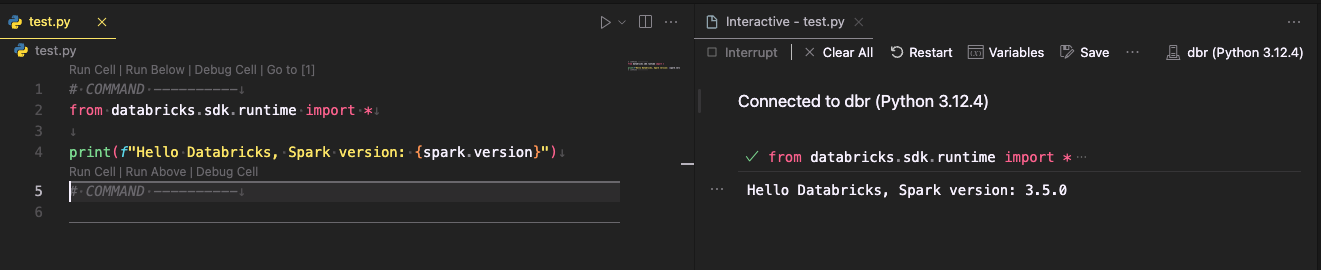
Now you can create a new notebook for testing connection. Let's create a new notebook named
test.pyand add the following code:# COMMAND ---------- from databricks.sdk.runtime import * print(f"Hello Databricks, Spark version: {spark.version}")Don't forget include the
# COMMAND ----------at the beginning of the cell andfrom databricks.sdk.runtime import *to import the necessary libraries. -
Open the command palette in VSCode by pressing
Ctrl + Shift + PorCmd + Shift + Pand search forPython: Select Interpreter. Select thedbrenvironment we created in step 3.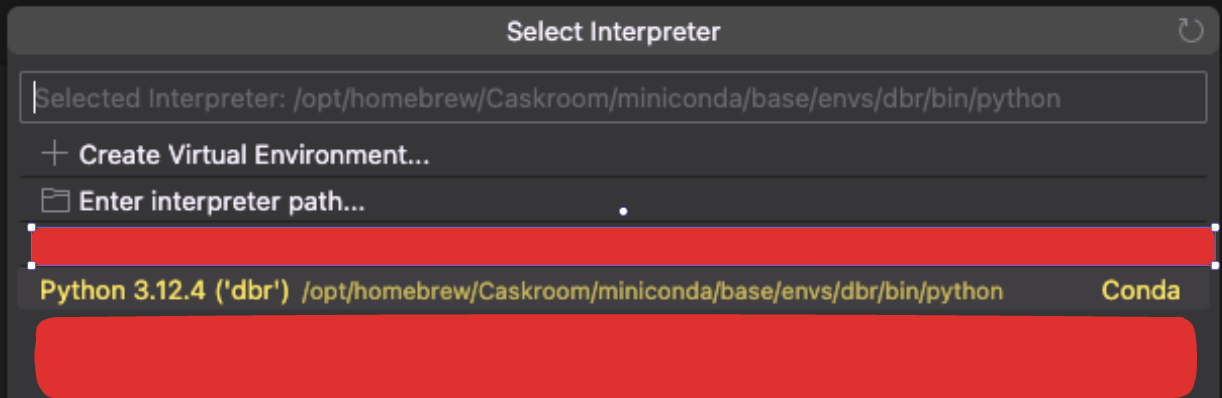
-
Run the notebook by pressing
Shift + Enteror clicking on theRun Cellbutton and you should see the output in the output panel.
Conclusion
Running Databricks notebooks locally can help you work more efficiently by allowing you to use lots of tools likes cli, extensions, github copilot, etc. that are not available in the Databricks workspace.
I hope this guide helps you set up your local Databricks environment.